LiteCheckout) for web applications with custom UI. You’ll learn how to initialise the SDK, build your own payment form, collect card data, and handle the complete payment flow including 3D Secure verification.
The Lite Checkout gives you core payment functionality while you build the UI.
Prerequisites
Before you can process payments with the Tonder JS Lite SDK, ensure you have completed the necessary setup and have the required components in place.- You have successfully installed the Tonder JS SDK.
- You have built your own custom HTML form for collecting card details.
Payment Integration Steps
Follow these steps to integrate payment processing into your web application with custom UI. This process involves initialising the SDK, building your custom form, collecting payment data, and processing the transaction.Step 1: Initialise the Lite SDK
Create an instance ofLiteCheckout. Even though you are building a custom UI, you must still call injectCheckout() to initialise the SDK’s hidden logic.
Step 2: Build Your Custom Form
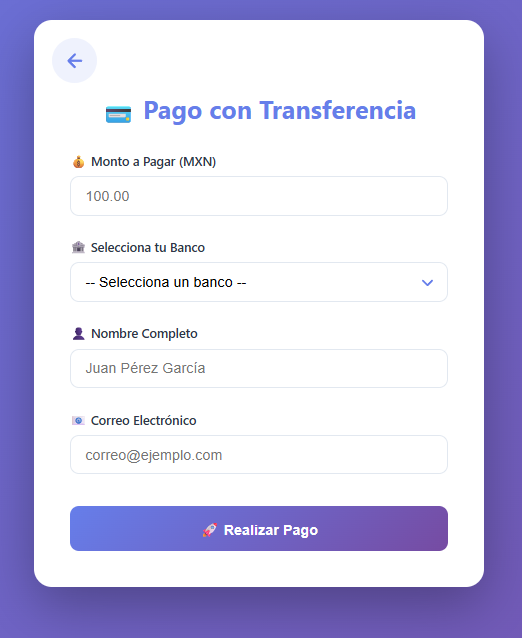
Create your own HTML form for card number, expiration date, CVV, and cardholder name. Use the SDK’s validation helpers to provide real-time feedback to the user.
Step 3: Process the Payment
In your payment button’s event listener, collect the card data from your custom form and include it in the payment() method’s payload.Next Steps
Now that you’ve successfully integrated payment processing into your web application with custom UI, explore these advanced features to enhance your payment experience:- Explore the available SDK methods for advanced payment operations and card management.
- Understand customisation options for building your own payment interface.
- Learn how to enroll payment methods for returning customers.

