Prerequisites
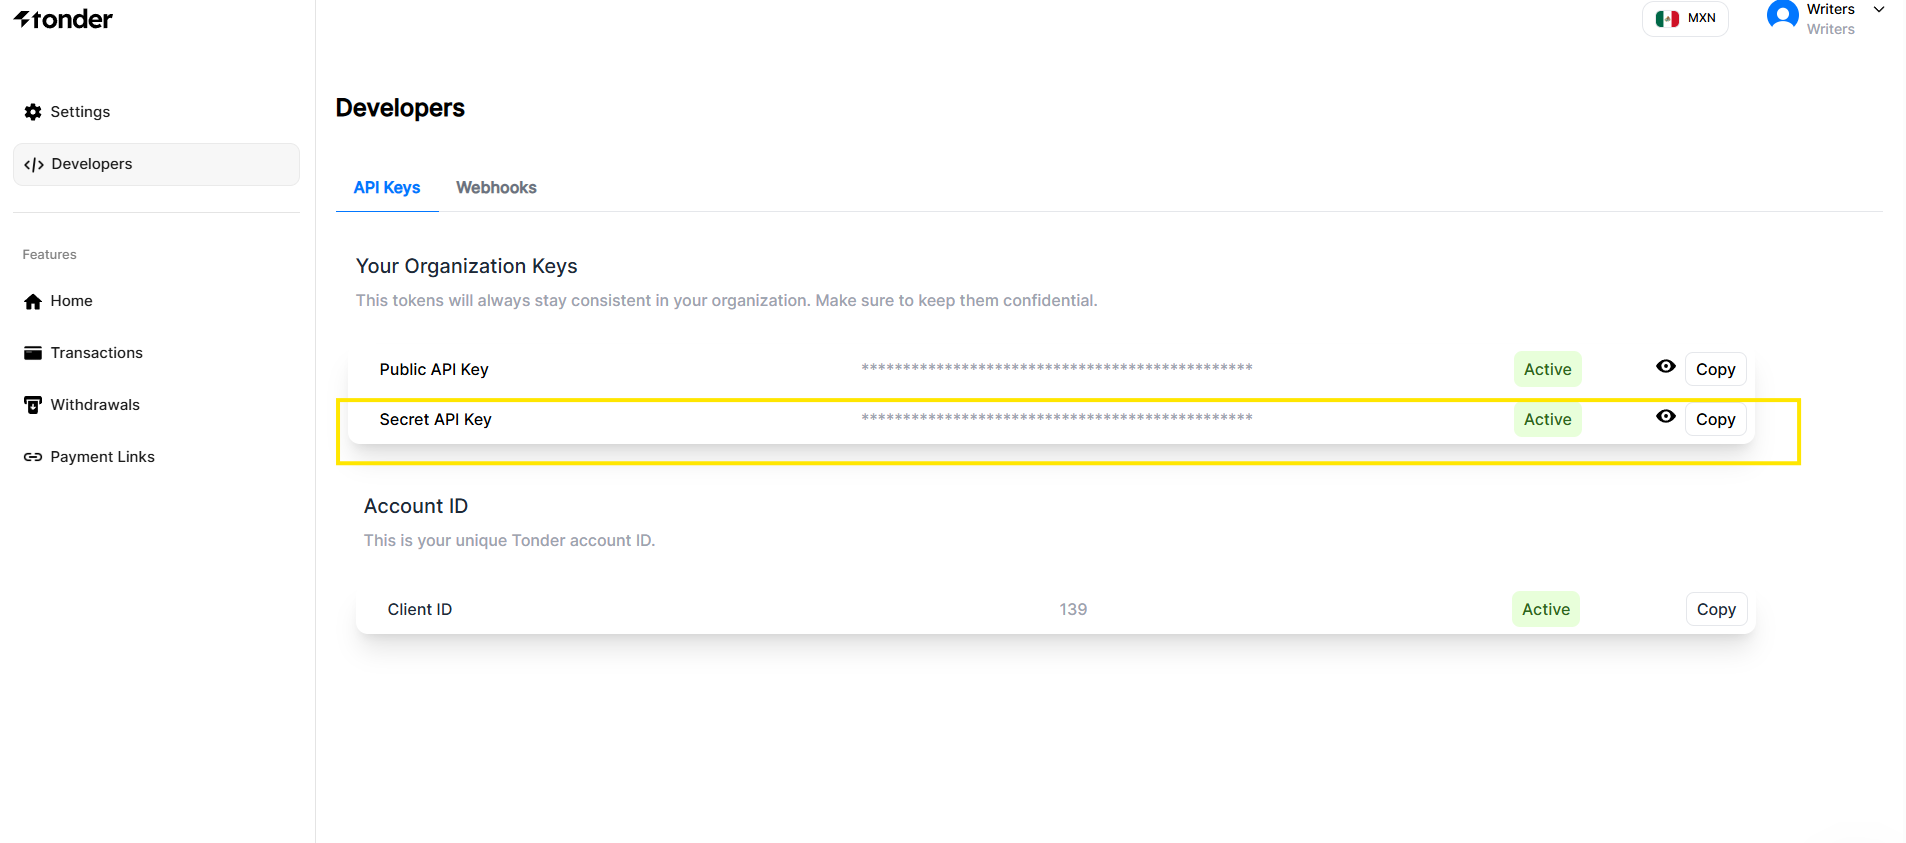
Before you begin, make sure you have the following:- Your Tonder API Keys, which you can find in the Developers section of the Tonder Dashboard. This step is common to all Tonder SDKs and is required for authenticating your application with Tonder’s services.
- A development environment for your chosen platform (Web, iOS, or Android).
Integration Steps
Follow these essential steps to integrate Tonder into your application and process your first payment. Each step builds upon the previous one, creating a complete payment integration workflow.Choose and install your SDK
First, you need to select the right SDK for your platform. Tonder provides dedicated SDKs for web (JavaScript) and mobile (React Native, Ionic, Flutter).
Initialize and configure the SDK
Once installed, you need to initialize the SDK within your application and configure it for your checkout. This step involves:
- Providing your public API key and configuring the environment (e.g.,
developmentorproduction) - Setting up customer and cart details, such as the total amount and currency
- Choosing between embedding individual payment fields into your custom checkout form or rendering a complete, pre-built UI
Mobile SDK
Learn more about the Mobile SDKs.
Web SDK
Learn more about the Web SDKs.