
Payment Links
Charge with no integration: create a payment link, share it, and follow its payment — each link is a Hosted Checkout session.
Payment Links let you collect a payment with no integration: you create a link, share it, and your customer pays on Tonder's checkout. Each payment link is a Hosted Checkout session — the same page, payment methods and appearance your API integration gets — so this section lists every session of your business, whether it was created here or through the Hosted Checkout API.
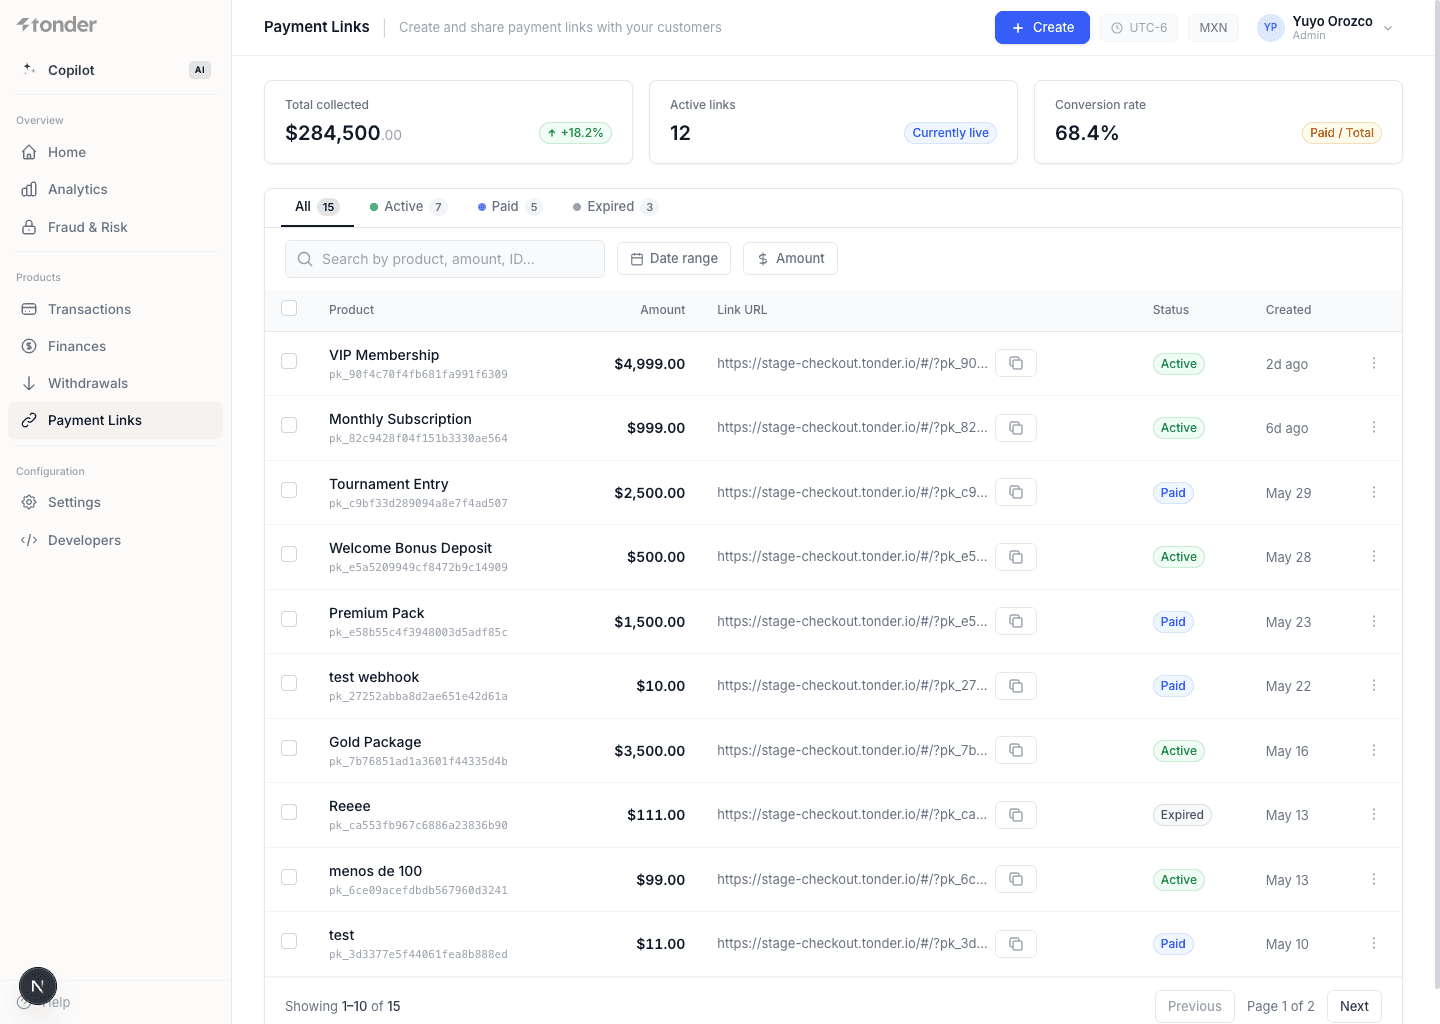
The screenshot shows the previous version of this section; the list now includes filters, KPIs and the payment detail described below.
The list
The list shows every payment session of your business — created in the Dashboard or by your API — with filters, search and KPIs at the top. Card-enrollment sessions are not listed here.
Each session has one of three statuses:
| Status | Description |
|---|---|
| Pending | The link is open and can be paid. |
| Completed | The customer paid. The link can no longer be used. |
| Expired | The time limit was reached without a payment. |
Create a payment link
Click Create in the Payment Links section.
| Field | Description |
|---|---|
| Line items | What the customer is paying for: name, quantity (a whole number, 1 or more) and unit price (greater than 0). Discounts and taxes per line are optional. |
| Expiry | When the link stops working — up to 24 hours from now. |
| Redirect URLs | Where the customer goes after a successful, pending or cancelled payment, plus a fallback URL. |
| Payment methods | The methods to offer, among those active for your business. |
| Button type | The call to action: pay, deposit or subscribe. |
The currency is your business currency and cannot be changed.
The Dashboard shows the payable URL. Copy it and send it to your customer.
Links created in the Dashboard always use the Hosted Checkout 2.0 design, with your saved appearance, language and button type applied.
Follow and edit a link
Open a link to see its line items, the payable URL, its timeline and — once it is paid — the customer's payment.
While a link is still pending you can edit its expiry, redirect URLs, appearance, button type and language. The amount, currency and line items never change; create a new link instead. A link that is already completed or expired cannot be edited.
Appearance
Edit your logo, colors, font, shapes, template and button text from the appearance editor. It shows a live preview of the real checkout, so what you see is what your customer gets. The same settings are available through the API — see Customize the checkout.
Legacy payment links
Links created with the previous payment-links module are listed read-only. They can still be paid until they expire, but they cannot be edited, and new links are always created as Hosted Checkout sessions.